Create New Report
To create a new report, select the appropriate form template from the list available for your agency and fill in the form fields.
Required fields on a form are denoted by
red text (or another color depending on the color theme you have selected - see Change Layout Settings for information about changing your Coplogic™ Ethos color theme). 
For general information and tips about working with report templates, see Report Forms. |
Procedure
-
Select the appropriate report form using one of the following methods:
From the left menu: New Reports Select the desired form under New Reports to generate a new report of that kind. From your Dashboard: Create New Report Click Create New Report in the top menu and select the report type from the drop-down menu. 
The following image is an example. The forms you see in Ethos will be more specific to your agency. 
-
Complete all required fields and as many other fields as needed on the form. To move from page to page, click the Next or Previous
buttons at the bottom of the page. Alternatively, you can select a page or section from the list in the left pane.

You can use the Search Data and Barcode Reader features to help you quickly populate person and vehicle sections with data that has been scanned into the system using the Coplogic™ Ethos Mobile application. For more information, see Add Person or Vehicle Information to a Report. -
When you get to the last page of the form (usually called Finalize), if required data is missing or invalid, you will see a list of the invalid fields. Click the
links in the right hand column to go to that section of the form so you can complete the fields as required.

-
Next, verify the Officer fields are complete and accurate.

You will not be allowed to submit a report until all required fields have been completed and the entered data has met all validation rules/criteria your agency has prescribed for the field (for example, a date is out of a specified range or the length of entered data doesn't meet what is required for that field). -
If the form requires your signature, you can sign it digitally using your mouse or touch pad to draw your signature. If using a touchscreen device, use your finger or stylus to
draw your signature.

If you have an e-Signature set up in your user profile, Ethos will automatically load it to the signature field on the form. For information on managing your e-signature, see Create a Digital Signature. -
After all validation errors have been remedied and officer information and signature fields completed, you can submit the report or issue the citation. Follow the instructions in
the table based on which type of form you are submitting:
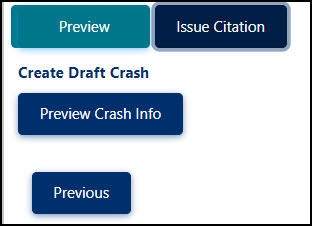
Citation - Click Preview to get a sneak peek at the citation. The preview image will open in a new instances of your browser.
- To create an associated incident report, click Preview Crash Info. If the information looks correct, click Confirm Create
Crash.

- Click Issue Citation when ready to submit the citation.
- Obtain the violator's signature if required.
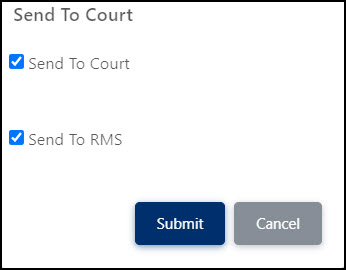
- Verify any additional actions such as Send to Court or Send to RMS.

Incident Report Click Submit. - You have successfully submitted or Issued a citation when Ethos window takes you back to your Dashboard screen and a printable PDF of the report is generated for you in a new tab of your browser window.

